At last! The garden beds are in. Three are fully planted up – we didn’t have *quite* enough soil to finish the fourth one, so we’ll finish that off this weekend, as well as planting the fruit trees. Stay tuned for Finished Garden Photos.
But in the meantime…
Here’s the plan I made. Most wicking beds are made using a gravel/scoria/pebble reservoir. I decided to go with drainage cells instead, after seeing them installed at my parents’ underground holiday house. They are lighter, easier to install, and turned out to be cheaper. The plastic liner I used is a thick industrial kind, thicker than pond liner and will stay completely inert in soil and water.

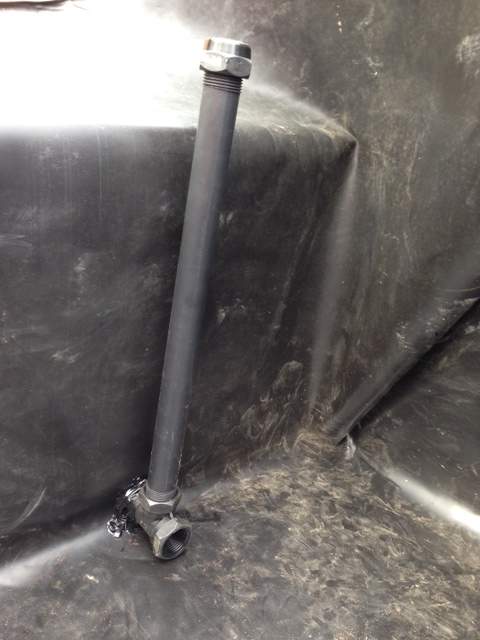
The drainage is made from polypipe. I just went to Bunnings and sort of made it up.
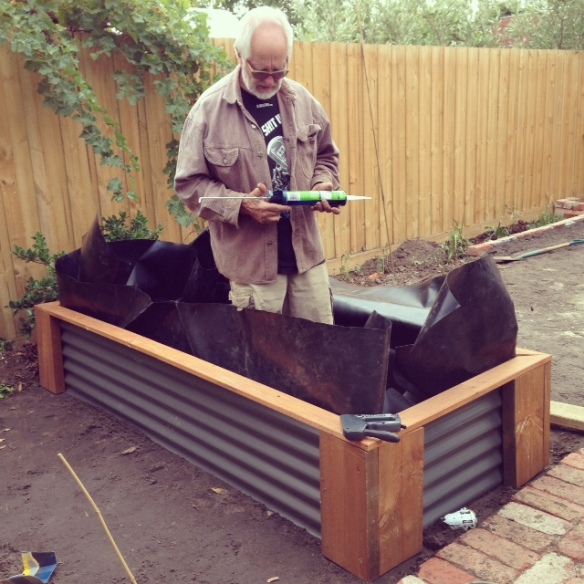
Here’s my Dad making sure everything is watertight. We bought the garden beds flat-packed from eBay. They’re 2.4 x 1 x 0.45, and there are four of them.
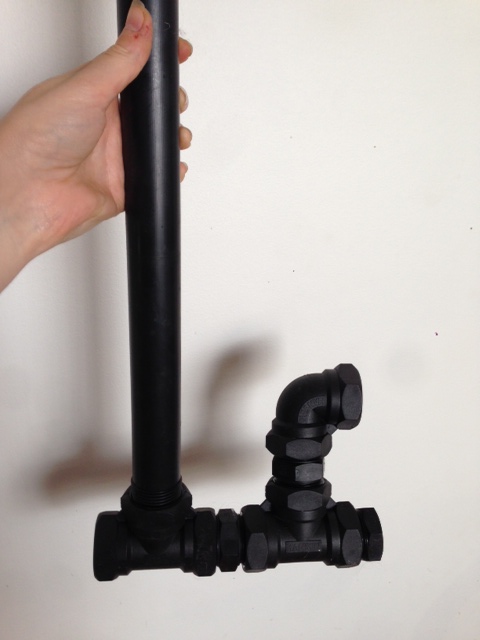
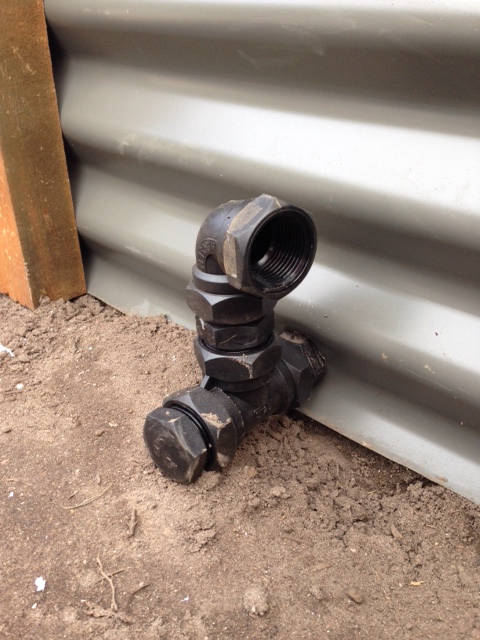
Inlet inside the bed
And out. The top bit is overflow, the bottom can be opened up to flush out the beds if necessary.
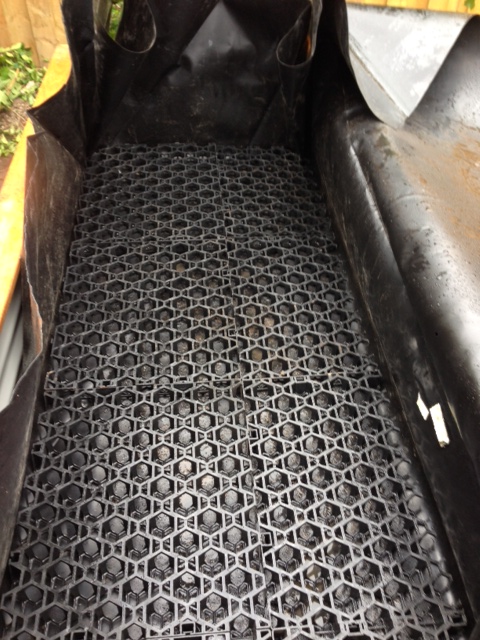
Reservoir is created using drainage cells.
Geotextile, so the soil doesn’t clog up the reservoir.

Then the soil. Most of it was shovelled in by my husband and my mum. Both champions.

Once the soil is done, the plastic and the geotextile are trimmed to size. A mini worm farm is added (more on that in a later post). Then the reservoir is filled up until it overflows. I’m topping it up every day at the moment, as it’ll take a while for the wicking to moisten the soil. I’m also hand watering, because the little seedlings aren’t big enough for their roots to reach the moist soil.

All planted and mulched!

